- Category Template — You can assign product categories to this template.
- Product Template — You can assign individual products to this template.
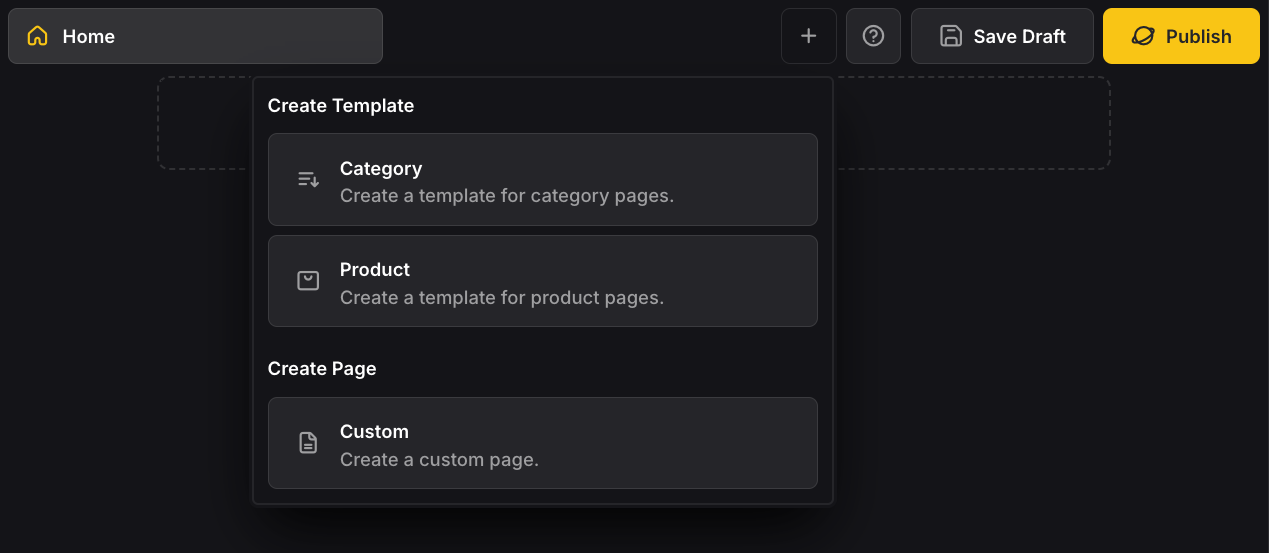
Create Template
Click on the “Plus” icon in the top bar of the editor and select “Category”.
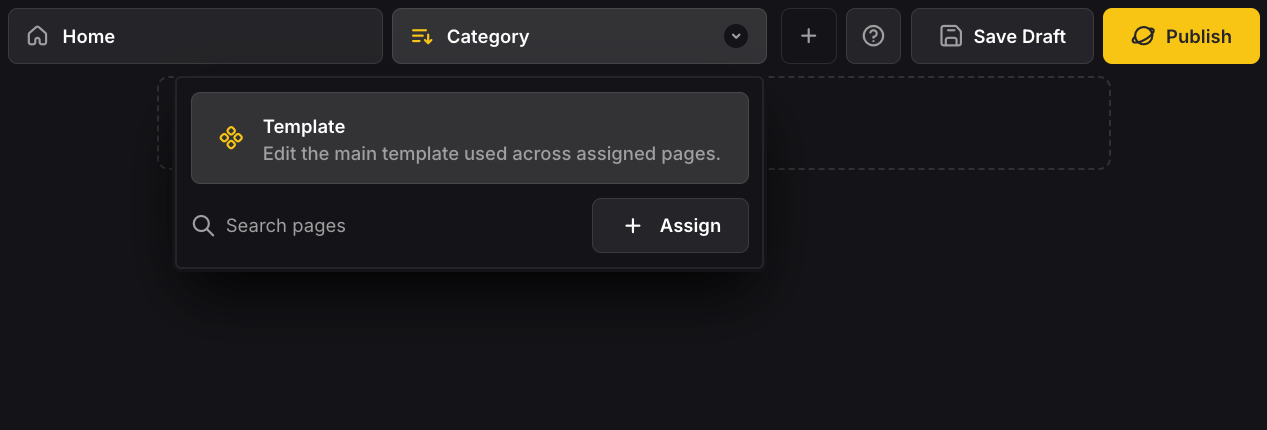
Edit Template
Navigate to the newly created “Category” template. A dropdown will open, click on the big “Template” button to edit the main template.
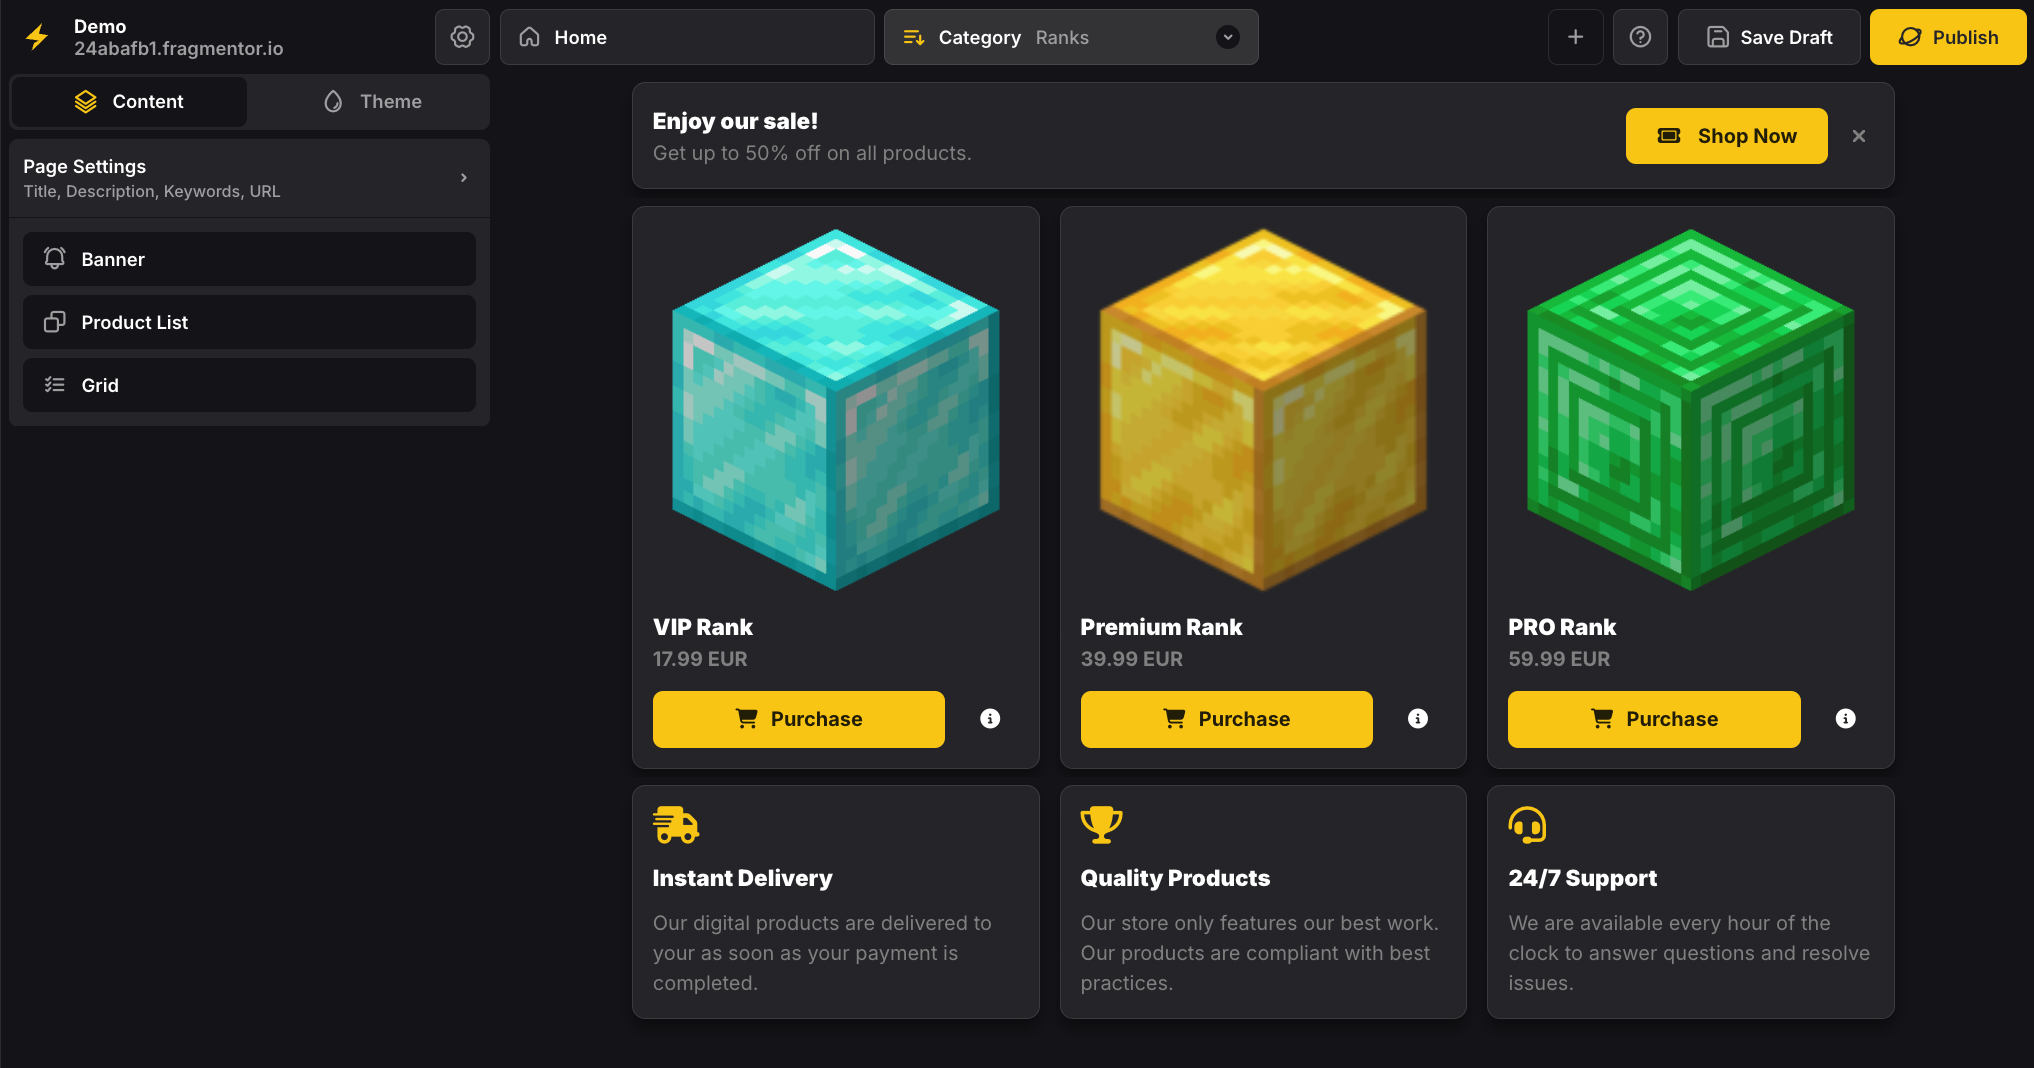
Now, simply drag and drop all fragments you need for this specific template. This is also the stage where you would configure each fragment. Below is an example of a category template that includes a banner, a product list and a grid fragment.
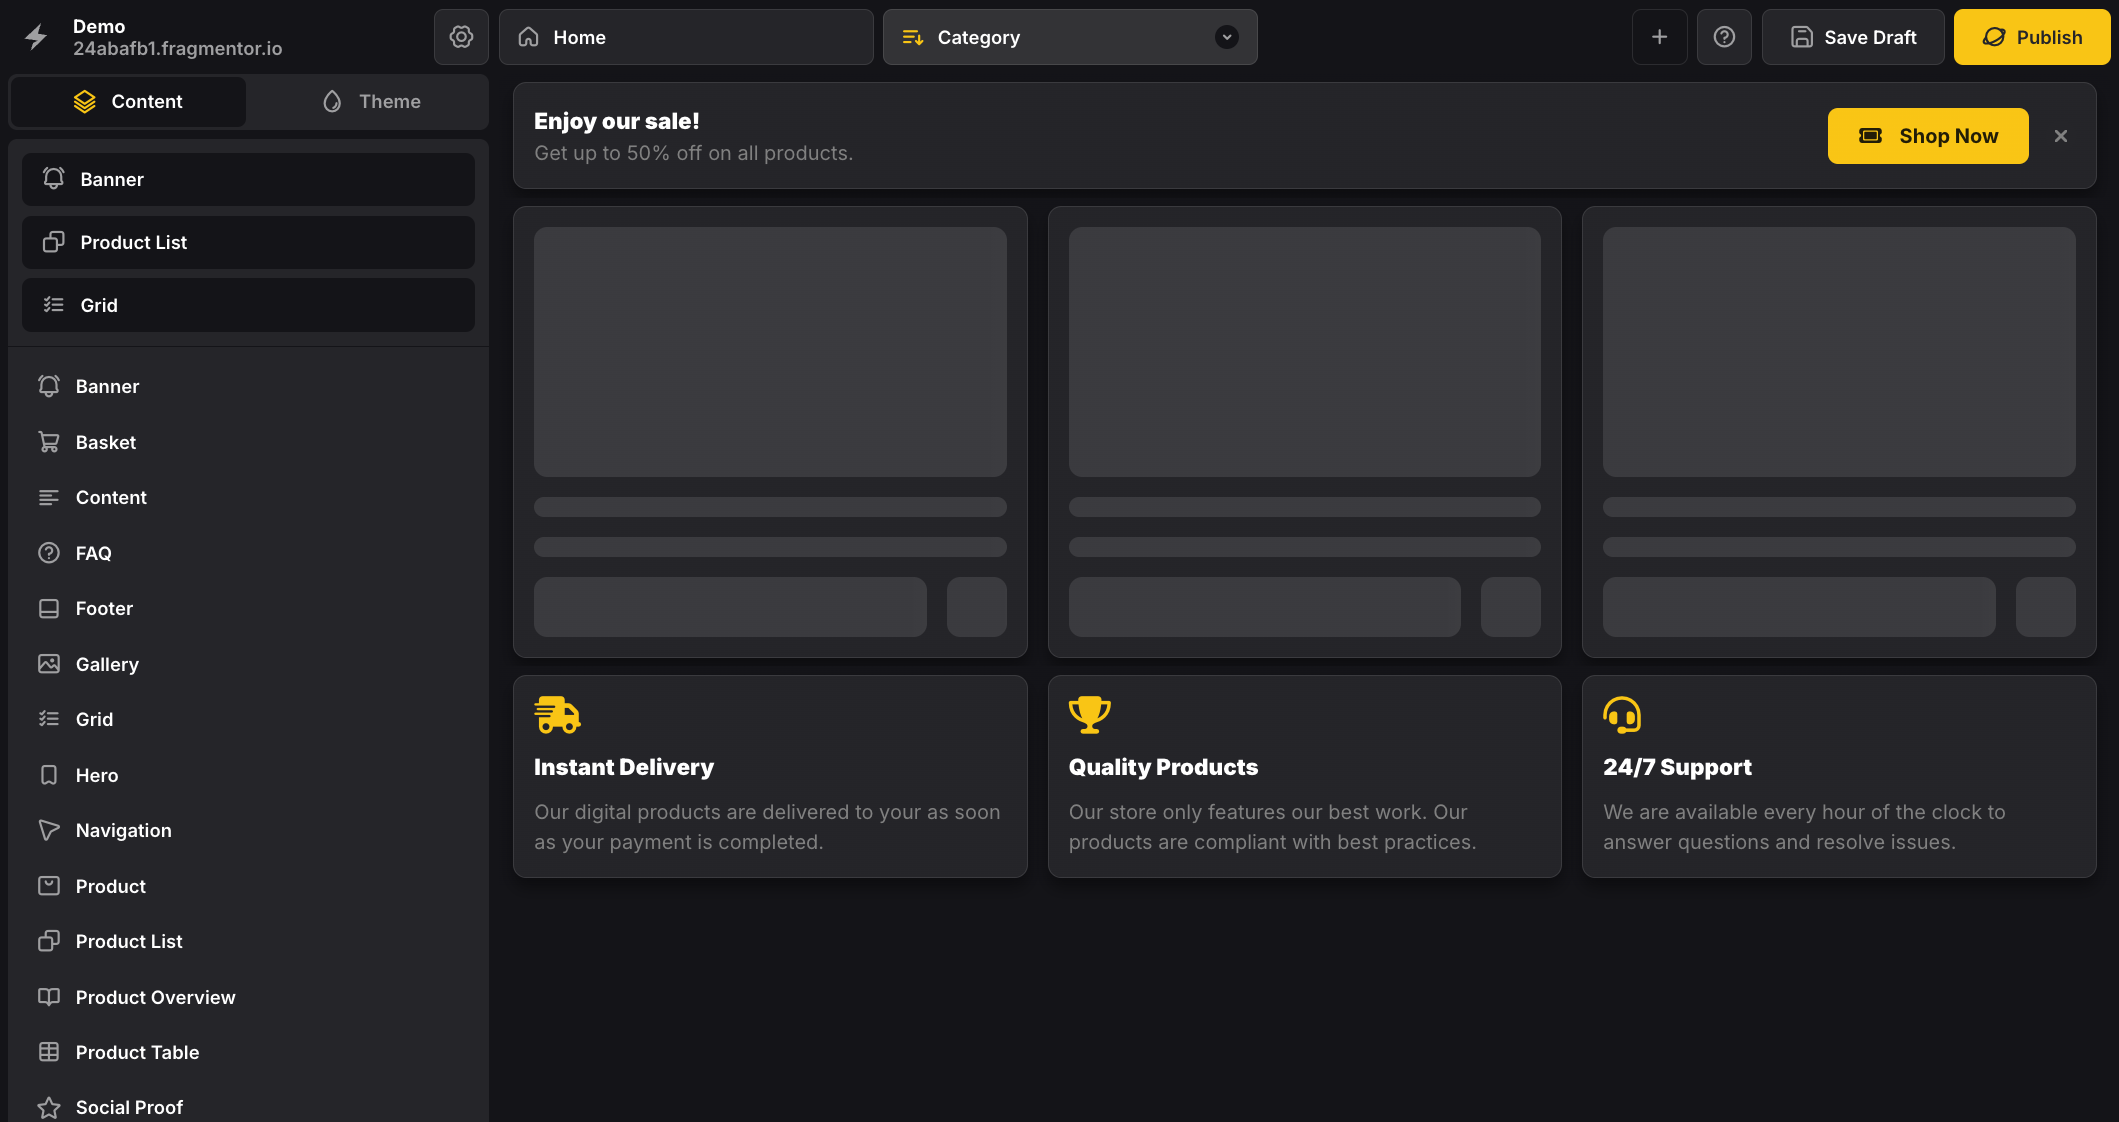
As you can see, fragments that require dynamic data (e.g. Product List) are in the loading state by default. That’s because they are configured to derive the context automatically based on the page. For more information about context derivation, read Product List.
Assign Pages
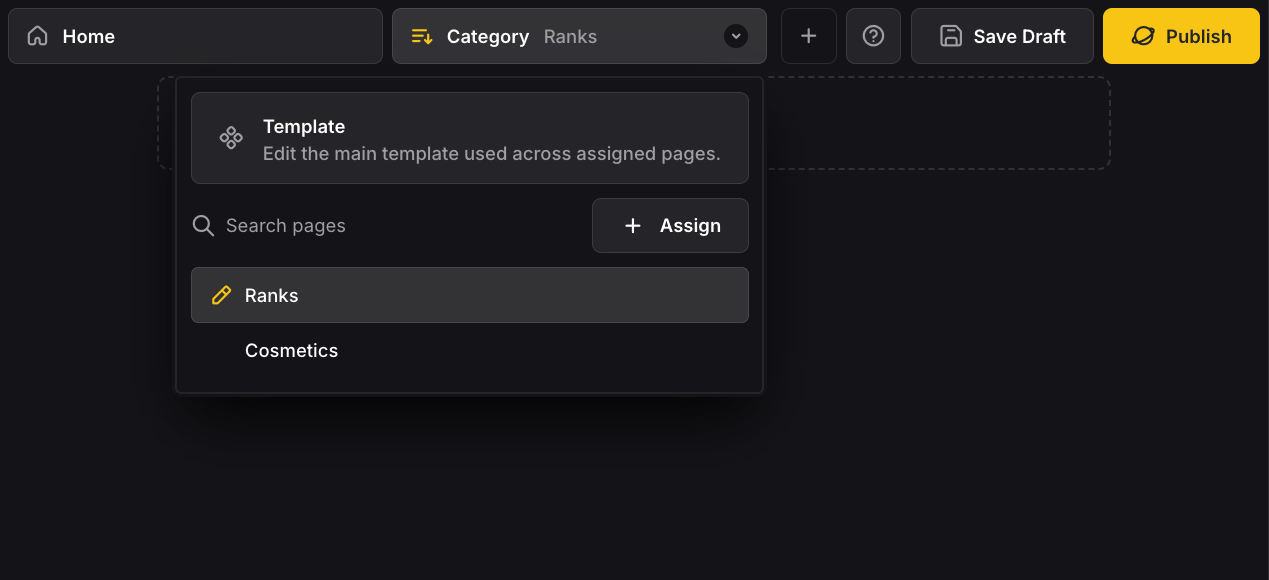
When you are satisfied with the template, you can assign pages to it by clicking the “Assign” button. For category templates, a list of all of your Tebex categories will be shown. For product templates, a list of all of your Tebex packages will be shown.
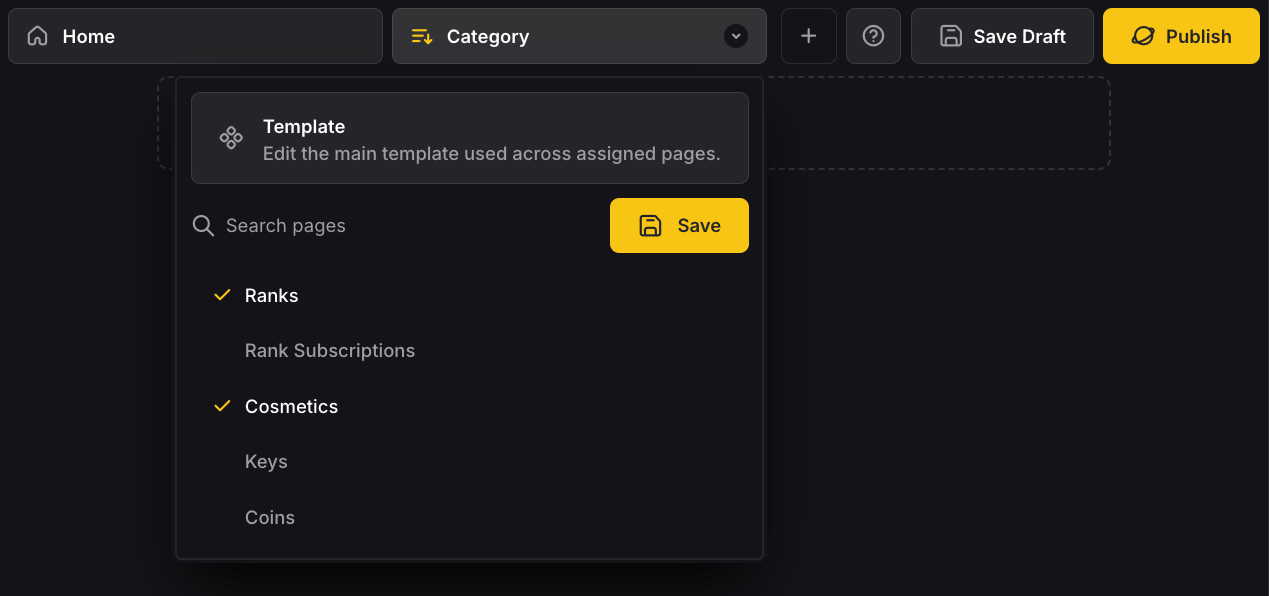
Simply select the categories or products you want to assign to this template and click “Save”.
Edit Pages
Now that you’ve assigned pages to the template, and have selected all fragments you needed, you can preview what an actual page (using the template) looks like. Again, navigate to the “Category” tab, but instead of clicking the large “Template” button, click on one of the pages you’ve assigned to it.
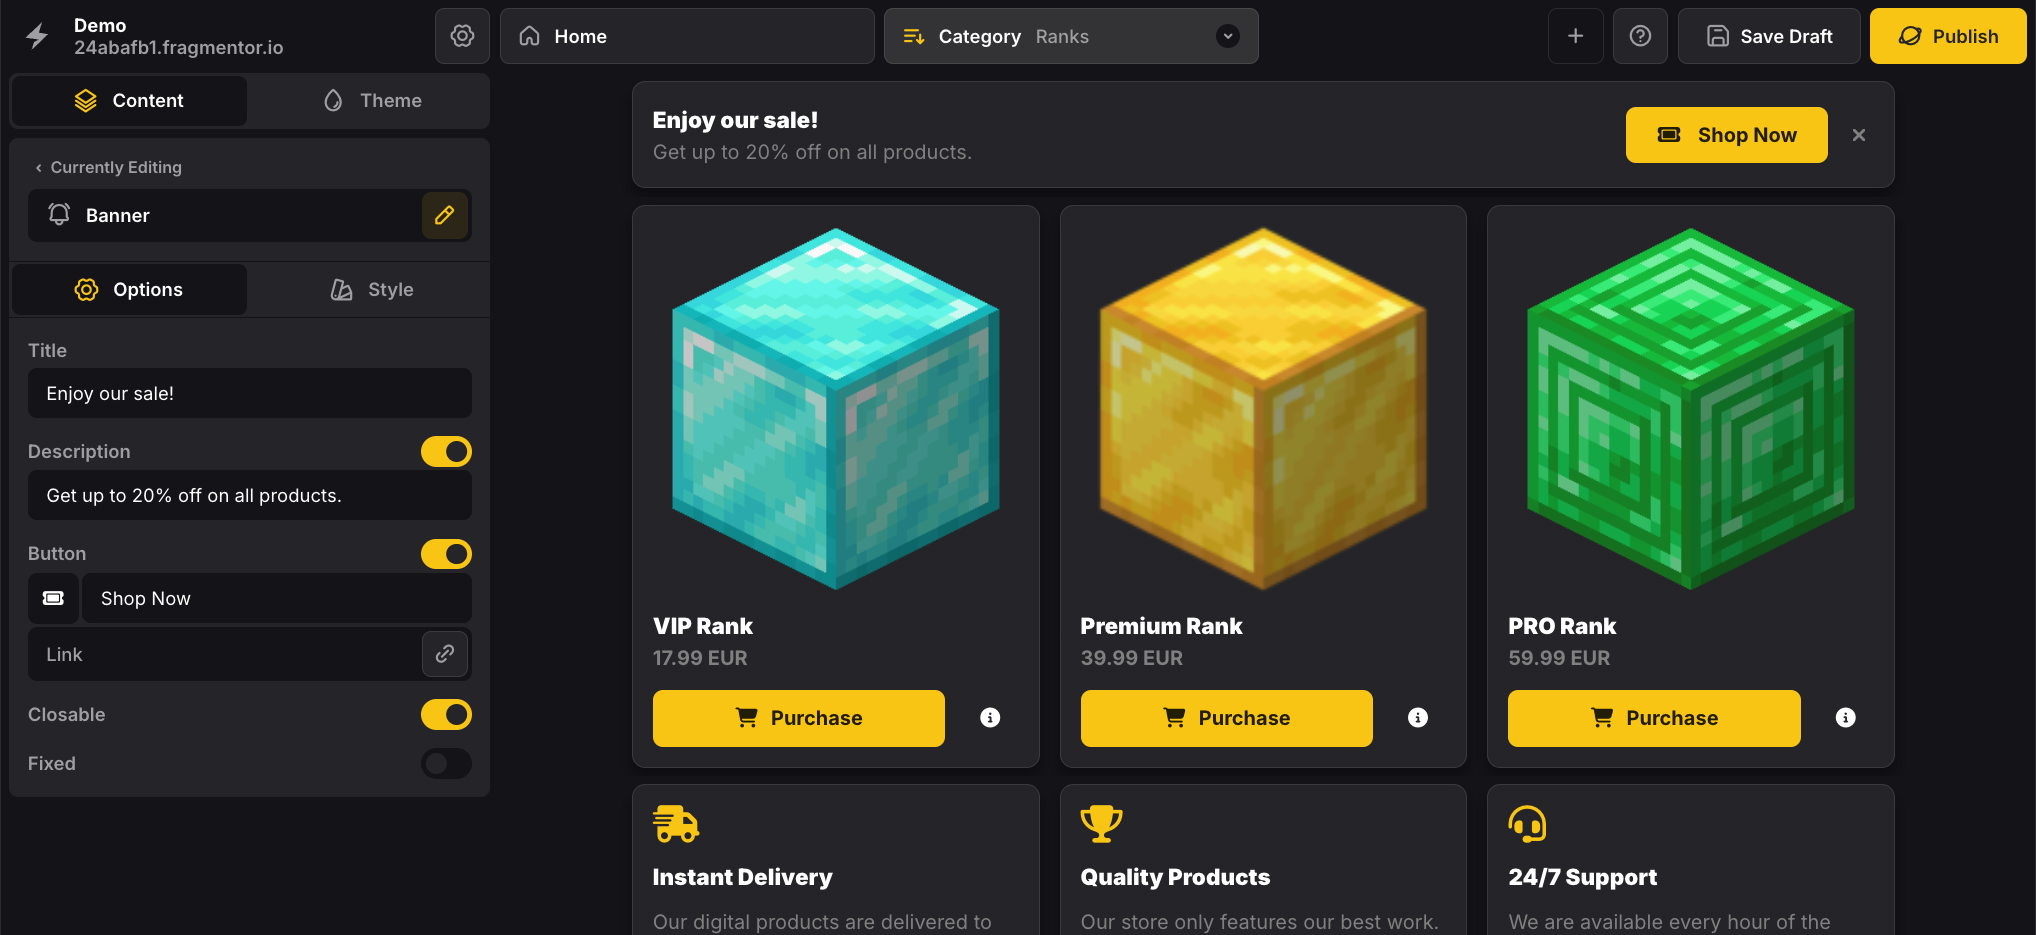
As soon as you preview one of the assigned pages, you will notice that the dynamic fragments will start to fill in. Notice how you can no longer drag and drop fragments, but you can edit the page settings!
While the fragments used are fixed, you can override the options and style of each one. As an example, this can be helpful when you want to showcase a different kind of features for a given category or product. Whenever you do so, you will notice a “Pen” icon indicating the fragment was edited compared to the overarching template.
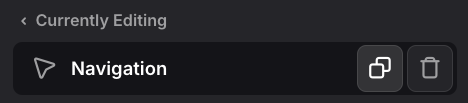
Bonus
Did you know you can copy fragments between templates? Simply click the “Copy” icon on the fragment you want to copy, and select the templates you want to copy your fragment to. This can be a real time-saver when you have multiple pages with similar content.